Flutter Newbies Start Here
If you’re new to Flutter development, I’d recommend starting with something a little less involved.
I used this book to learn the Flutter language:
Beginning Flutter: A Hands On Guide to App Development
And this one to get started with mobile app development:
…And Let’s Go
Good morning, afternoon, and evening to all the Flutter developers in the world and welcome to the blog post that’s going to make you love Google’s cross-platform development language more than you already do! For those of you that aren’t familiar with the number one rising language for mobile development, get familiar. This language is perfect for creating beautiful mobile applications for Android, iOS, and web, and it has a community that is expanding like California wildfires.
I won’t be going into all the benefits of the language in this post so if you’re interested, check out the official website. Instead, this post is targeted at developers with some Flutter experience. Maybe you’ve been easing your way through some of the Flutter codelabs or perhaps you’ve published an app on both the Google Play Store and the Apple App Store. Good for you. You probably feel fan-Flutter-tastic whenever you sit down at a keyboard and I genuinely feel happy for you.
But what if I told you there was a trove of basic Flutter knowledge you weren’t aware of?
RED PILL INCOMING
In this article, I will be highlighting several simple shortcuts that will slice hours off of your next Flutter project. I use Android Studio in my own development and will be focusing on that here.
Right-Clicking Never Felt So Good
* “Mac users can go cry in a hole”…I mean, “Mac users can ctrl+click whenever I say right-click” *
There are a thousand things you can do with Flutter in Android Studio simply by right-clicking so first and foremost, I’d recommend finding a mouse that feels good in the palm of your hand. Something heavy. Something powerful.
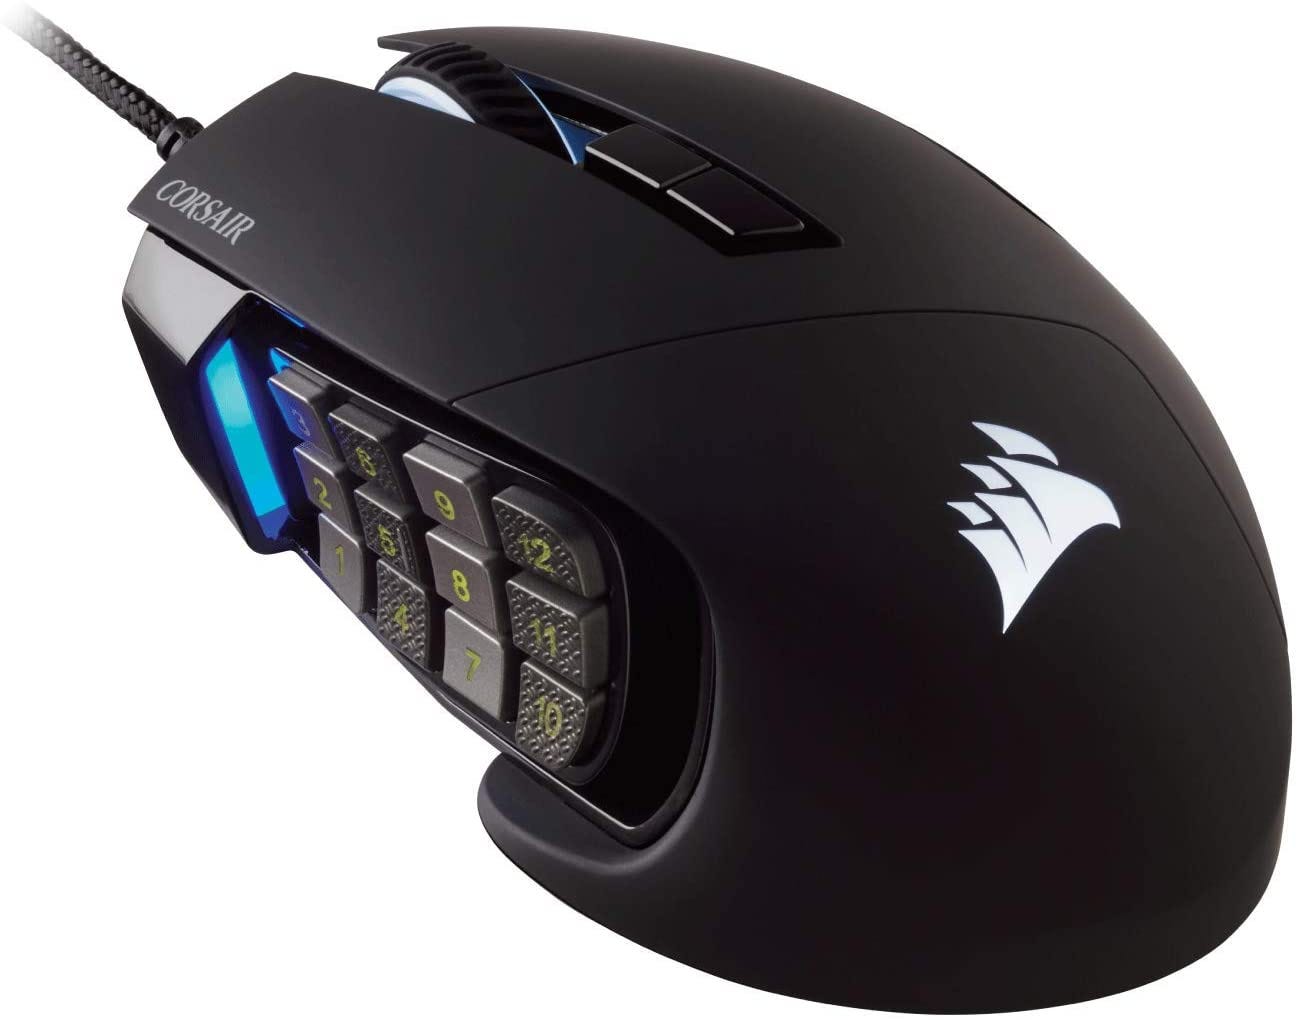
I use the Corsair Scimitar Pro and I’ve set up all 12 of the programmable side buttons as hotkeys. I can copy, paste, expand code blocks, navigate forwards and backwards, and view help text in about 3 seconds flat. I’ll be adding another post with my key-mappings so keep this page bookmarked.
Once you have a mouse picked out, you can start right-clicking (responsibly, of course).
Remove a Widget
One of the first tricks you should learn is how to remove a widget from your widget tree. This would be necessary if you unintentionally wrapped a Text widget with a FittedBox and then decided the world is too unpredictable to put things in boxes. To do this, simply right-click on the widget you want to remove, select “Show Context Actions”, and then at the very bottom, select “Remove this Widget”.
Doing this will remove the widget and all of the properties that belong to it so don’t worry about cleaning anything up afterwards.
Add a Widget
Some smart guy once said there were equal and opposite things in this world and surprisingly, that brilliant saying applies to the right-click shortcuts in Android Studio for Flutter category of life. This time, right-click on the widget you want to wrap with another widget, select “Show Context Actions”, and then pick the “Wrap with Widget…” option.
Doing this will wrap the selected widget with an arbitrary widget placeholder that you can the replace with the specific one you were thinking about. This method is best used for wrapping widgets with widgets that take a single child (for example, FittedBox, Align, SizedBox, etc). If you need to wrap your widget with a widget that can hold multiple widgets (think a Row, Column, or Stack), there are alternative and superior methods.
As you can see in the screenshot above, the Context Actions pop-up menu has a list of other actions to choose from. You can quickly wrap your child widget with a Column widget by choosing “Wrap with Column”. Doing this places your child widget into a [list] of children widgets so you don’t have to wrestle with a wild pack of brackets, semi-colons, and commas. It’s just easier than writing it out manually. You can do the same thing if you want to add a Row widget.
Given that the output of all mulit-children widgets is pretty much the same, you can use this feature to quickly insert other widgets, like the Stack widget. In short, wrap your child with a Column (and a blanket), and then just replace the “Column” string with the “Stack” string. Easy.
There are a few other things you can do by right-clicking, like move a widget up or down within the widget tree, but those don’t seem to be applicable all that often.
Control Click Gets You There Quick
This tip might be old news for many of you, but holding the control button and clicking on a class or function name will jump you to that class or function. This can be a scroll-saver if you’re someone who piles all of their functions at the bottom of the file, and it’s a total game changer if you just make functions wherever you find the space (seriously, do better).
Control-Alt-Left/Right Arrow Gets You Back
As helpful as the control-click combo is, it can cause more headaches than it cures if you forget where you came from. Luckily, The Android Studio IDE has a few keyboard shortcuts to help with navigation. Specifically, Ctrl-alt-left arrow takes you bake to the last location you were at. Ctrl-alt-right arrow takes you forward.
Personally, I’m not one to remember keyboard shortcuts so I just plug them all into my Corsair Scimitar Pro computer mouse at intuitive positions (ex, the backwards navigation shortcut goes towards the back of the mouse).
There’s actually a slew of keyboard shortcuts in Android Studio (almost one for every possible action you can take), so don’t be afraid to see if one exists for that thing you do 200 times a day.
To view the different shortcuts setup in your IDE, double tap the Shift key and search for “Manage keymaps” (Double tapping the shift key could be an efficiency tip all by itself since you can find literally any setting this way).
Keep Things Formatted
It’s hard to get things done if you’re spending 80% of your dev time trying to figure out where one parenthetical ends and the next one begins. This is especially true in Flutter where everything is arranged hierarchically.
Format Everything
You can quick-format all of the code in the open file by clicking ctrl-alt-”L”. This will quickly correct all indentations and wrap code lines that are too long to view without scrolling. I set this up as another speed button and I use it all the time.
Use the Comma Wisely
Something I didn’t know until 3 months into my Flutter coding experience was that the comma can be the difference between a long, run-on line, and a beautifully organized code block. If you add a widget and define all of it’s properties on one line without placing a comma at the end of your line, the IDE will attempt to keep the code on a single line:
But, if you add a widget, define all its properties, and then throw a comma after the last property in the list, ctrl-alt-”L” will cause the line to wrap cleanly so that each property has it’s own line:
I learned this by accident.
My Setup
I’m a self-taught developer who believes that marketable software solutions can be created by dedicated lone wolves (or very small teams). I blog about development tools like Flutter, Google Firestore, and RevenueCat since I believe these will be staples of every successful mobile app start-up in the near future. With these in your arsenal, you can do the work of 4 or 5 people in a ridiculously short amount of time. I also blog about computer literacy and efficiency since both of those things have exponential returns.
Hardware
- Omen by HP Obelisk Desktop Computer
- MacBook Pro with Intel Core i9
- LG 27UL500 Monitor
- Two HP 27" LED Monitors
- Corsair Scimitar Gaming Mouse
Be Efficient
Flutter coding is fast coding and the Android Studio IDE offers a lot of convenient features to help you go from design to distribution. If there’s any shortcuts I’ve missed that you use regularly, feel free to reach out to jtmuller5@gmail.com and I’ll update this guide. Keep coding!